
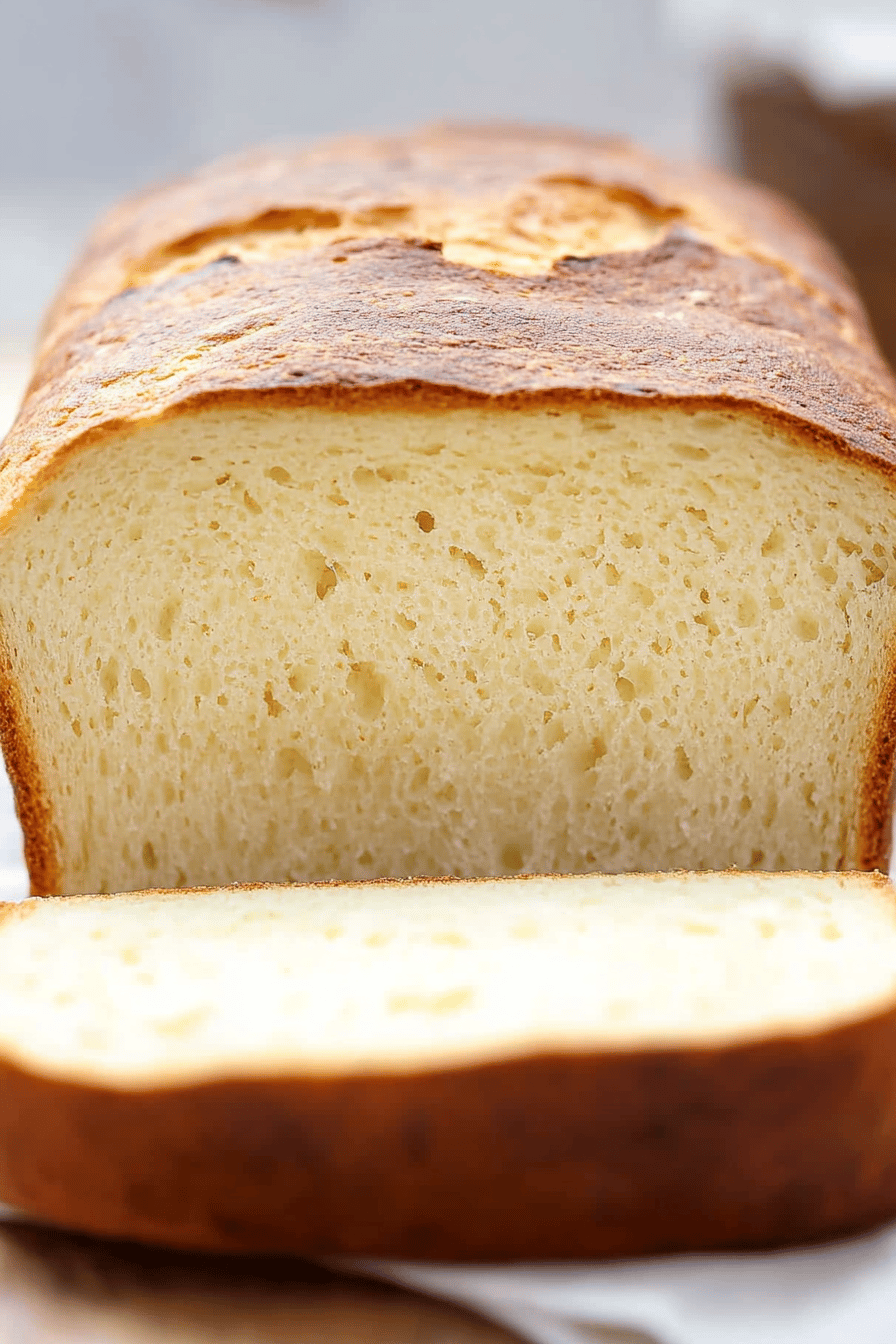
Okay, you guys, get ready. This is a big deal.Gluten-free Japanese Milk Bread.is about to become your new obsession? I know that “gluten-free” and “amazing bread” don’t always go together, but trust me on this. What is the recipe that changed the game for me? Is it pillowy soft, slightly sweet, and has that incredible melt-in-your-mouth texture that you just have to try it? I can’t stop eating. Think of it like the gluten-free version of a cloud, only you can slathe it with butter and jam. If you love cinnamon rolls, you’re going to love this bread. Isn’t it just as comforting, but somehow even lighter and more delicious? I’ve been tinkering with this recipe for months, and finally ready to share the secrets. My family devours it every time I make it – it never lasts more than a day!
What is gluten free Japanese milk bread?
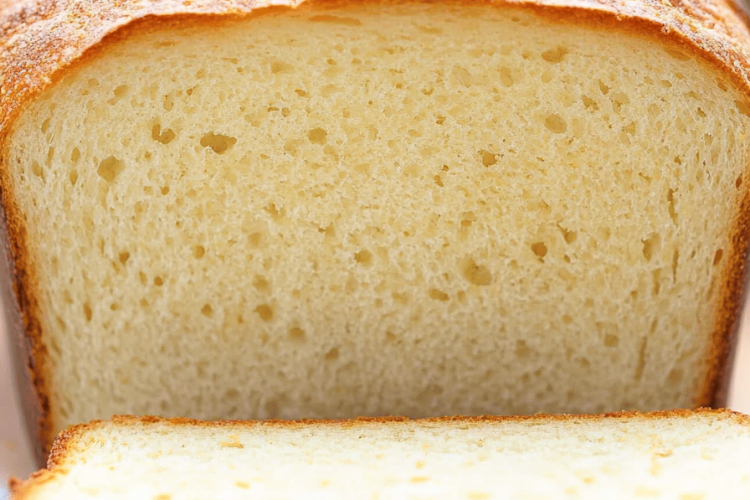
Alright, let’s break it down. Gluten-free Japanese Milk Bread., also known as Hokkaido milk bread, is a type of bread known for its incredibly soft and fluffy texture. What is tangzhong? What is essentially a cooked flour and liquid mixture that’s added to the dough. Think of it as a pre-gelatinized flour paste. What is gluten free bread? Fresher for longer. What is the secret weapon to achieve that signature cloud-like texture? Is it like making a roux but for bread? It adds a level of hydration that makes the final product outrageously soft and tender. Is this a baker’s trick in disguise? What makes this bread so special?
Why you will love this recipe?
Where do I start? I promise you’re going to fall head over heels for this recipe. * **Flavor Explosion**: The subtle sweetness is just perfect, not overpowering, and the texture is out of this world. Is it like biting into a cloud? What is the sweetness of a banana when slathered with butter? * **Surprisingly Simple**: Don’t let the fancy name fool you. What are the steps to follow? I’ve simplified it as much as possible so even beginner bakers can nail it. Is the Tangzhong method easier than you think? It sounds intimidating, but it’s so simple! * **Budget-Friendly**: Most of the ingredients are pantry staples. You probably have almost everything you need already! What are the best gluten-free recipes? How do I make homemade soup at home? What are some great uses for French toast? My kids love it with a smear of Nutella, and I’m partial to it toasted with an avocado. I use this bread for grilled cheese! I really love that it’s a step up from your average gluten-free sandwich bread. I tried so many gluten free recipes and they were dense and gummy. What changed my life forever? What is the best gluten-free option?
How do I make gluten-free Japanese milk bread?
Quick Overview
Okay, so here’s the basic rundown: We’re going to make a tangzhong (that’ is the key to the softness! ), then mix it with the rest of our gluten-free ingredients. We’ll let it rise, shape it, bake it until golden, and then brush it with a sweet glaze. What is the Tangzhong method? How does gluten-free flour hydrate in a way that other methods can’t match. What are some of the best recipes for bread making?
Ingredients
For the Tangzhong:
* 1/4 cup (30g) gluten-free all-purpose flour blend (I recommend one with xanthan gum already added) * 1/2 cup (120ml) milk (dairy or non-daire – I’ve used almond and oat milk with great results! ) * 1/4 cup (60ml) water. (*)
For the Main Batter:
* 2 1/4 cups (280g) gluten-free all-purpose flour blend (again, with xanthan gum) granulated sugar * 1 teaspoon salt * 2 1/4 teaspoons (1 packet) active dry yeast * 1/2 cup (120ml) Milk (dairy or non-darey), warmed to about 110°F (43°C) * 2 large eggs, lightly beaten * 4 small potatoes, cooked to a boil. What are some tablespoons (56g) unsalted butter,
For the Glaze:
* 2 tablespoons milk (dairy) * 1 tablespoon honey (or maple syrup for a vegan option)
What are the steps to
Step 1: Prepare the Tangzhong
In a small saucepan, whisk together the gluten-free flour, milk, and water until smooth. Set aside. Cook over medium heat, stirring constantly, until the mixture thickens into a paste. Is it okay to burn something for a few minutes? If you want a thick pudding consistency, you need to make it thick. What is the secret weapon to make amazing bread?
Step 2: Mix Dry Ingredients
In the bowl of a stand mixer fitted with the dough hook attachment (or in an extra large bowl if you’re using one) place the flour, salt and pepper. Mix gluten-free flour, sugar, salt, and yeast. What is the most common mistake people make when they’re trying to get yeast out of their system? What is the best way to whisk everything together? How do salt and yeast come into contact?
Step 3: Mix Wet Ingredients
In a separate bowl, whisk together the warmed milk and eggs. Set aside. If the milk is warm, it will kill the yeast. If you don’t have a thermometer, just make sure it feels comfortable to touch. Why shouldn’t it be scalding
Step 4: Combine
Add the wet ingredients and the cooled tangzhong to the dry ingredients. Mix on low speed until a shaggy dough forms. Add the softened butter and stir until fully incorporated. Increase the speed to medium and knead for about 5-7 minutes, or until the dough is smooth and elastic. Is it okay to add more flour? What is the key to a soft texture? If you’re mixing by hand, knead on a lightly floured surface for about 10-12 minutes.
Step 5: First Rise
Place dough in a lightly oiled bowl, turning to coat. Cover with plastic wrap and let it rise in a warm place for about 1-1. 5 hours, or until doubled in size. Gluten-free doughs don’t always rise as much as regular dough, so don’t worry if it doesn’T quite rise at all. Just look for a noticeable increase in volume.
Step 6: Shape the Bread
Gently deflate the dough and turn it out onto a lightly floured surface. Divide dough into three equal portions. Roll each portion into a long rope, about 12 inches long. Place the three ropes side by side and pinch the ends together. Braid the ropes together, then pinch the other ends together to seal. Carefully transfer the braided loaf to a greased 9×5 inch loaf pan.
Step 7: Second Rise
Cover the loaf pan with plastic wrap and let it rise in a warm place for another 30-45 minutes, or until golden brown. When the dough has risen to about an inch above the top of the pan, pour it into a large bowl.
Step 8: Bake
Preheat oven to 350°F (175°C) Bake for 30-35 minutes, or until the loaf is golden brown and a toothpick inserted into the center comes out clean. What makes you come out clean? If the top starts to brown too quickly, tent it with foil.
Step 9: Cool & Glaze
While bread is baking, prepare the glaze by whisking together the milk and honey (or maple syrup). Once the bread is out of the oven, let it cool in the pan for about 10 minutes, then transfer it to a wire rack. Is it necessary to use a wire rack to cool completely? What is the best glaze for bread?
Step 10: Slice & Serve
Once bread is completely cooled, slice it with a serrated knife. Is it safe to eat fresh? Is it good to toast it, make a sandwich, or just enjoy it plain?
What is the best way to serve it?
This Gluten-free Japanese Milk Bread. (This isWhat are some ideas for breakfast? What are some good ways to top a slice of bread with butter and your favorite jam? What is the best way to make French toast? * **For Brunch**: Serve slices alongside scrambled eggs, bacon, and fresh fruit. What is the best way to serve a brunch spread? Is it good to serve plain with a glass of milk? What are some of the best cozy snacks? What are some great ways to make a quick and easy snack? My family loves it as a snack with some tea. I have to hide it away otherwise it disappears immediately!
How do I make gluten-free Japanese milk bread?
What are the little tricks I’ve learned over the years that will take your life?Gluten-free Japanese Milk Bread.From good to amazing. * **Gluten-Free Flour Blend is Key**: Not all gluten-free flours are created equal. I highly recommend using a blend that already contains xanthan gum. How do you make a dough that is crumbly? I like to use Bob’s Red Mill or King Arthur’s Measure for Measure. I always have a bag on hand! * **Don’t skip the Tangzhong**: Seriously, this is the secret to the softest bread. Why is warm milk important? Make sure the milk you use to activate the yeast is warm, but not too hot. If it’s too hot, it will kill yeast. Do gluten free doughs take longer to rise than regular dough? Let it rise in a warm place until it has doubled in size, or at least noticeably increased in height. * Don’t overbake. Overbaking will result in dry, crumbly bread. Bake until the loaf is golden brown and a toothpick inserted into the center comes out clean. **Let it Cool Completely**: Resist the urge to slice into the bread while it’s still warm. How do I slice a potato?
What are some Storing and Reheating Tips?
How do I keep my sanity?Gluten-free Japanese Milk Bread.How do I keep my food fresh for as long as possible? Store bread in an airtight container at room temperature for up to 2 days. * **Refrigerator Storage**: For longer storage, wrap the bread tightly in plastic wrap and store it in the refrigerator for up to 3 months. * **Freezer Instructions**: To freeze, slice bread and wrap each slice individually in plastic wrap. Then, place the slices in a freezer bag. Freeze for up to 2 months. What is the best time to thaw at room temperature before serving? I prefer to glaze bread right before serving, but you can glaze it ahead of time if you like. If you store the glaze in the refrigerator, it may become sticky. Just keep it that way. I often freeze the slices and pop them in the toaster when I want a quick snack!
What are the most frequently asked questions on
Final Thoughts

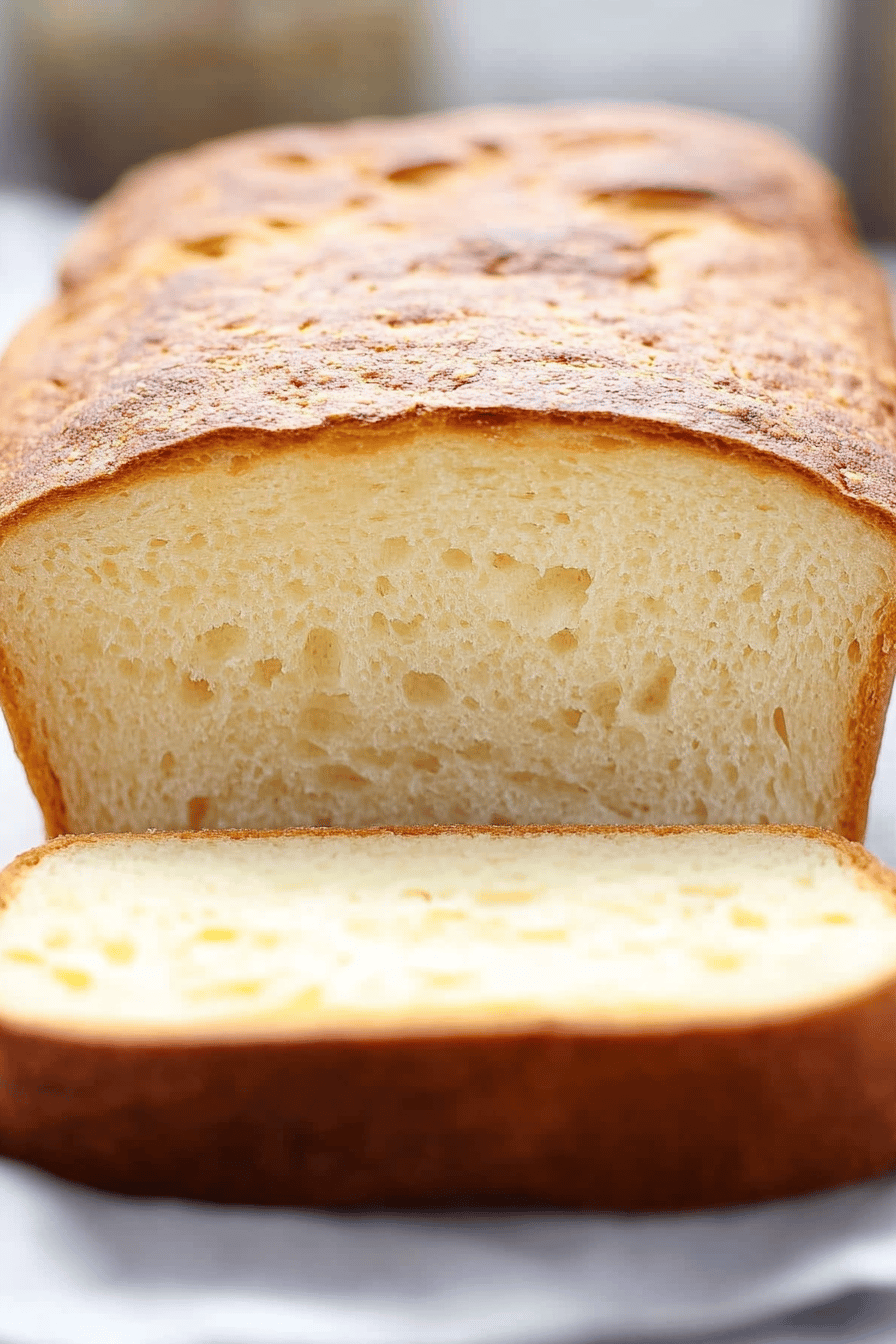
So, there you have it! My foolproof recipe for Gluten-Free Japanese Milk Bread. This recipe is special because it allows those of us who can’t eat gluten to still enjoy something light, fluffy, and absolutely delicious. It might seem a little intimidating at first, but trust me, it’s worth the effort! Once you try it, you’ll be hooked. And if you love this bread, be sure to check out my other gluten-free recipes. I’m always experimenting with new ways to make gluten-free baking easier and more delicious. Happy baking! And don’t forget to let me know how yours turns out in the comments below. I can’t wait to hear from you!
Gluten-Free Japanese Milk Bread
Ingredients
Main Ingredients
- 1 cup gluten-free bread flour blend
- 0.5 cup granulated sugar
- 2 teaspoon instant yeast
- 1 teaspoon salt
- 1 cup milk warmed
- 1 tablespoon unsalted butter melted
- 1 large egg
Instructions
Preparation Steps
- In a large bowl, combine gluten-free flour, sugar, yeast, and salt.
- In a separate bowl, whisk together milk, melted butter, and egg.
- Add the wet ingredients to the dry ingredients and mix until a dough forms.
- Knead the dough for 5-7 minutes until smooth and elastic.
- Place the dough in a greased bowl, cover, and let rise in a warm place for 1 hour, or until doubled in size.
- Punch down the dough and shape it into a loaf.
- Place the loaf in a greased loaf pan and let rise for another 30 minutes.
- Bake at 350°F (175°C) for 30-35 minutes, or until golden brown.