
Okay, so I know it sounds a little…out there, but trust me on this one. Zombie dirt pudding cups are seriously the most fun, delicious, and surprisingly easy dessert to make. Is whip up really necessary for a Halloween party? Think of it as a tricked-out oreo pudding, but instead of just plain layers, you’ve got something amazing. Gummy worms crawling out of the “dirt,” crushed Oreos, and that oh-so-creamy pudding filling Is there a way to melt chocolate in your mouth? Is it more exciting than a typical pudding cup?
What are Zombie Dirt Pudding Cups?
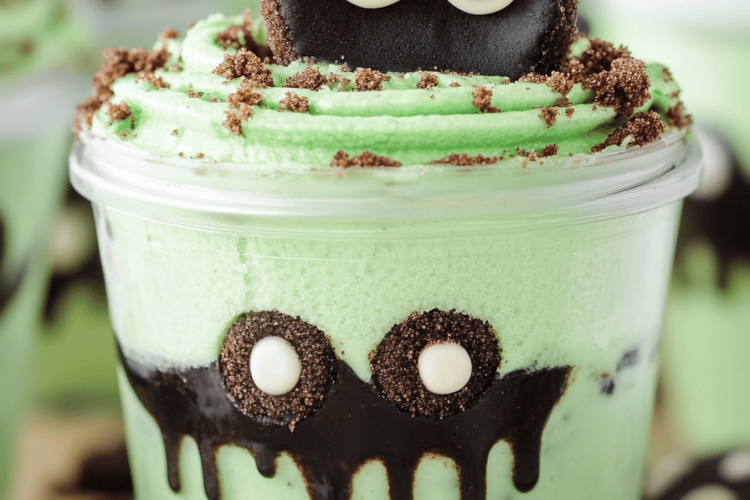
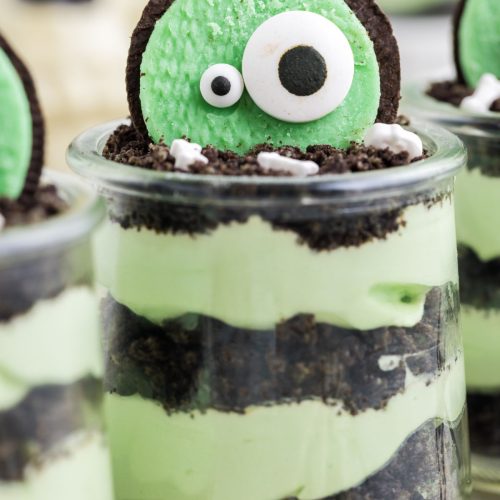
Zombie Dirt Pudding Cups are essentially individual servings of chocolate pudding, layered with a sprinkle of cinnamon. Is crushed Oreo cookies to resemble “dirt,” and then decorated with gummy worms and other spooky decorations? How do you make a zombie-themed dessert? Think of it as an edible graveyard, but way tastier! I usually make these for Halloween, but honestly, they’re a hit anytime I want something playful and cute. Is it a no bake dessert?
Why do I love this recipe?
Where do I begin? You get that rich, chocolatey pudding, the satisfying crunch of the Oreos, and then that burst of chocolate. What is the chewy sweetness of gummy worms? What I love about this is how customizable it is. Want to add some peanut butter cups? What’s your favorite chocolate pudding recipe? My kids are obsessed with these, and honestly, I sneak one or two myself when they’re not looking.
- Flavor Explosion:The combination of chocolate pudding, crunchy Oreo “dirt” and gummy worms is a textural and flavorful combination. What is partying in your mouth?
- Super Simple:If you can crush cookies and stir pudding, you could make this.
- Budget Friendly All of the ingredients are easily accessible and won’t break the bank. I usually grab everything from my local grocery store.
- Totally VersatileYou can adapt this for different holidays or themes. What are some of the best ways to make different flavors of pudding?
Is it fun to do something? Is it the kind of dessert that makes everyone smile? What makes this recipe stand out because it embraces the fun, spooky vibe of Halloween without being overly overpowering? Is this a recipe that’s as enjoyable to make as it is to eat?
How do you make Zombie Dirt Pudding Cups?
Quick Overview
Is this recipe ridiculously simple? What’s the best way to make Oreo pudding? ), and then layer everything in cups. How do you top a zombie dirt pudding cup with gummy worms? What is the best part? It takes about 15 minutes to throw together. No oven required, no fancy techniques, just pure, delicious fun!
Ingredients
For the “Dirt”
* 1 package (14. 3 oz) Oreo cookies, crushed (I usually use a food processor, but I use ziplock bag and rolling pin). Is it okay to substitute graham crackers for chocolate?
For the Pudding:
* 1 package (3. 9 oz) instant chocolate pudding mix * 2 cups cold milk (I’ve used everything from whole milk to whole grain milk). What are the benefits of almond milk? If you’re feeling lazy (and I often am), just buy pre-made pudding cups. Nobody will know!
For the Zombie Fun: What are some of
* Gummy worms * Candy eyeballs* * Any other spooky candy you like! I’ve used pretzel sticks as “bones” before.
What are the steps to
Step 1: Crush the Oreos
What do you crush on Oreos? I usually toss them in my food processor for a few seconds until they’re nice and crumbly. If you don’t have a food processor, just put them in ziplock bags and whack them with the hammer. Is it therapeutic?
Step 2: Make the Pudding
Pour the chocolate pudding mix into a bowl and whisk in the cold milk. Whisk for about 2 minutes, until the pudding starts to thicken. Let it sit for a few minutes to fully set up. If you’re using pre-made pudding cups, skip this step!
Step 3: Layer It Up!
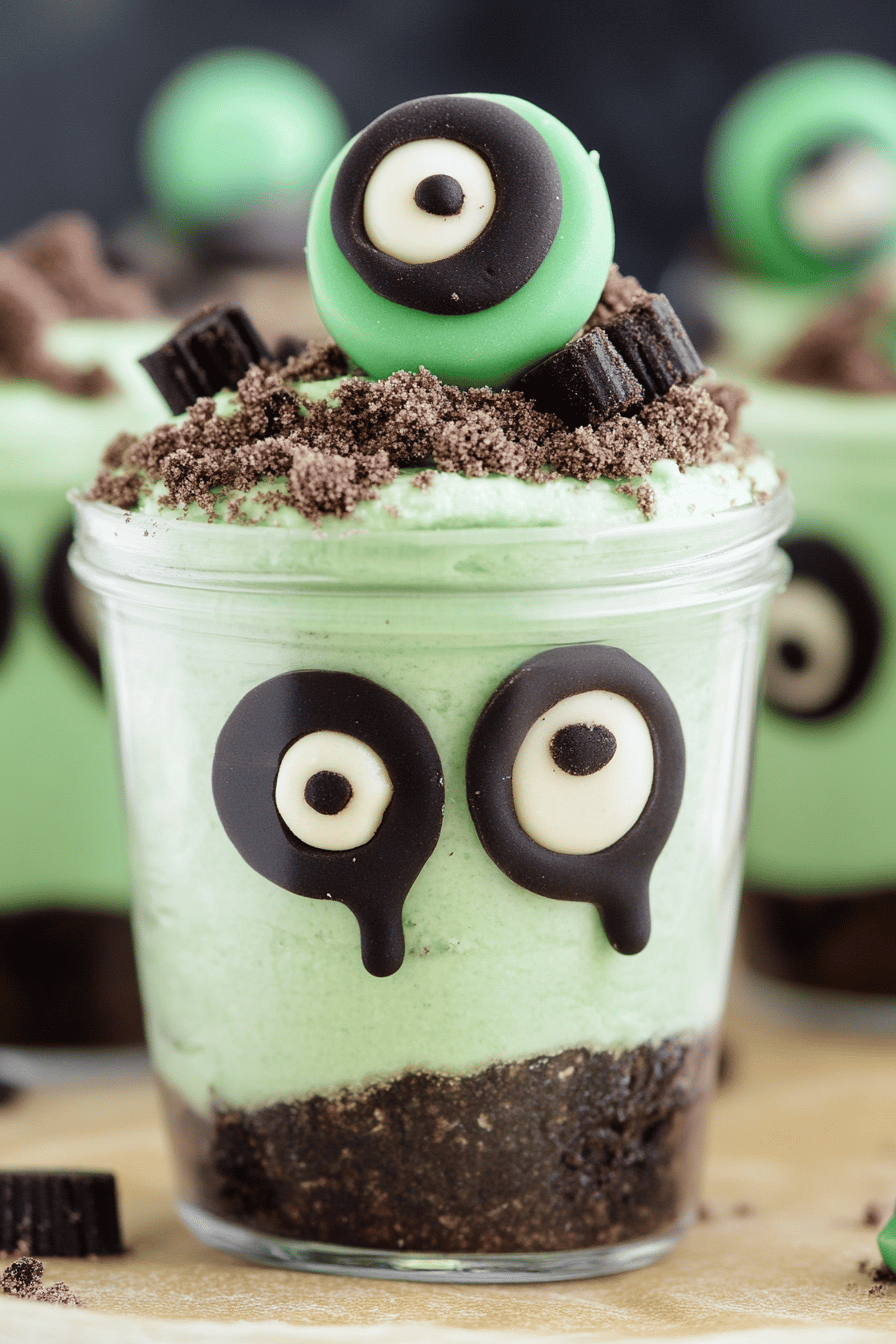
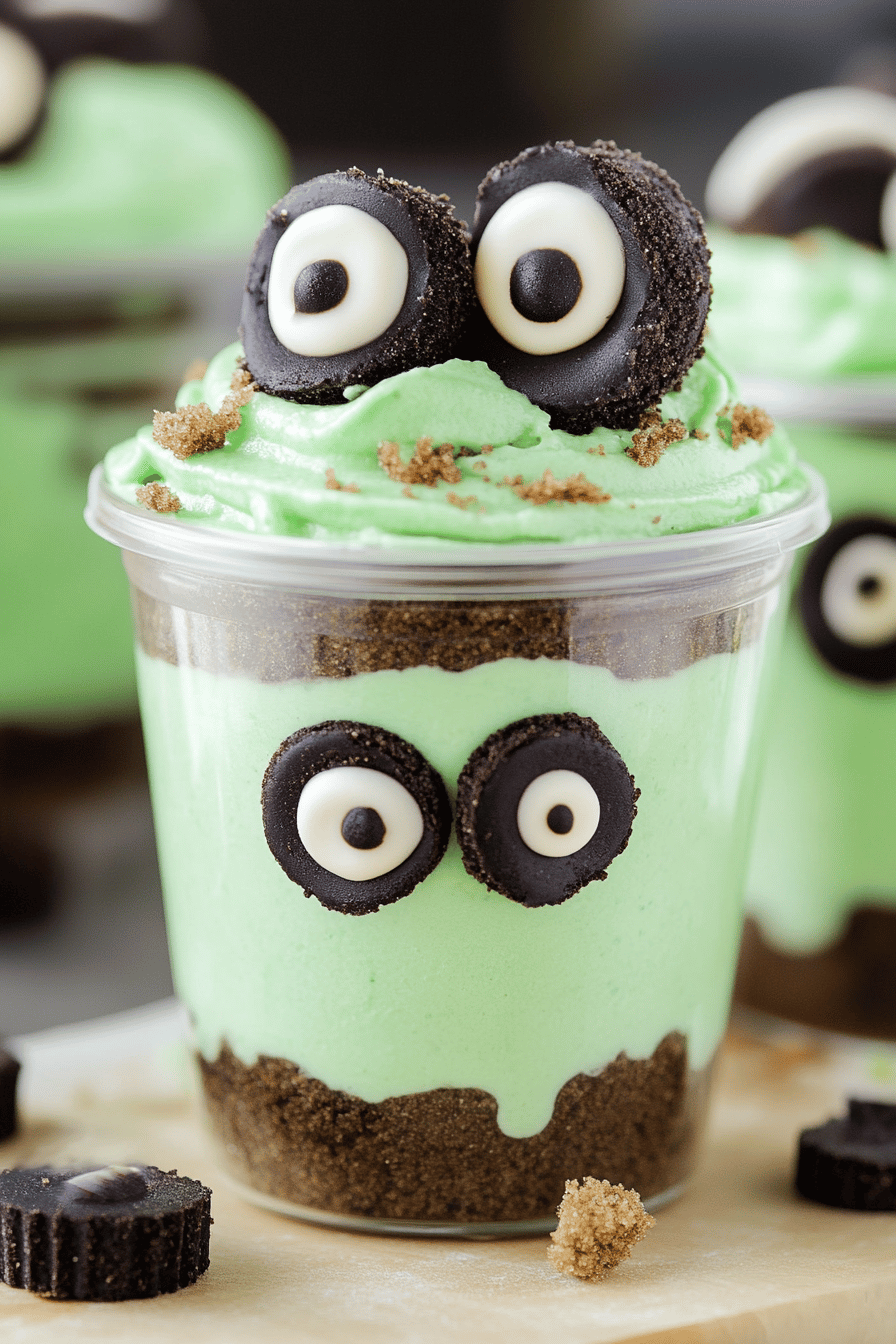
What is the fun part? I like to use clear plastic cups so you can see all the layers of the food. Start with crushed Oreos at the bottom, then add a layer of chocolate pudding. Repeat the layers until you reach the top of the cup.
Step 4: Get Spooky!
Top each pudding cup with gummy worms, candy eyes, chocolate shavings and any other spooky ingredients. What are some of the best candies I always let my kids help with this part – they love arranging the gummy worms so they look like they’re playing. They’re crawling out of the dirt.
Step 5: Chill Out
What should I do with my pudding cups? Pop them in the fridge for at least 30 minutes to let everything chill and set up. Why is cold pudding so much better?
Step 6: Serve & Enjoy!
Once the pudding cups are chilled, they’re ready to serve. What are some of the best spooky treats?
What should I serve it with?
What are some good zombie dirt pudding cups? What are some ideas to take things to the next level?
What is the best Halloween costume to wear?What are some of the best spooky treats to serve with these cookies? Bowl of “toxic waste” punch.
What are some ideas for a kid’s birthday party?What are some good side dishes to serve with pizza, chicken nuggets, and fruit?
For a Cozy Night In:What is the best way to spend a chilly evening with friends?
My family loves when I serve these after a fun night of trick-or-treating. What is the best way to end a spooky evening?
How do you make a Zombie Pudding Cup?
What are some tricks to make these zombie dirt pudding cups even better?
Oreo Crushing:Don’t over-process Oreos. You want them to resemble dirt, not powder. A few smaller chunks are totally fine!
Pudding Power:If you’re using instant pudding, make sure to whisk it really well to avoid any lumps. Don’t be afraid to experiment with new flavors! Can you make a monster slime with vanilla pudding?
Candy Chaos:Have fun with the decorations! The more creative you get, the spookier (and tastier) the cups will be. Think gummy worms, candy eyeballs and edible glitter for extra fun.
How do I layer like a pro? When layering the pudding and Oreos, try to create distinct layers. This will make the pudding cups look more visually appealing.
Chill Time is Key: Don’t skip the chilling step! It allows the pudding to fully set and the flavors to meld together. Plus, cold pudding is just so much better!
Ingredient Swaps: Try using other kind of cookies or candies. Chocolate chips cookies add something else to the recipe that is equally as delicious!
Storing and Reheating Tips
Okay, so these zombie dirt pudding cups are best enjoyed fresh, but if you happen to have any leftovers (which is rare at my house!), here’s how to store them:
Refrigerator Storage: Cover the pudding cups tightly with plastic wrap or transfer them to an airtight container. They’ll keep in the fridge for up to 2 days. The Oreos might get a little soft, but they’ll still taste great!
Freezer Instructions: I don’t recommend freezing these, as the pudding can get a weird texture when it thaws. But if you really want to, wrap each pudding cup individually in plastic wrap and then place them in a freezer-safe bag. They’ll keep in the freezer for up to 1 month. Let them thaw in the fridge before serving.
Glaze Timing Advice: Since there is no glaze in this recipe, just be mindful that storing for too long will diminish the cookie crunchiness!
Frequently Asked Questions
Final Thoughts
So there you have it – my go-to recipe for zombie dirt pudding cups! It’s quick, easy, and always a crowd-pleaser. Seriously, these things disappear in minutes at my house. If you’re looking for more fun and festive dessert ideas, check out my other recipes. And don’t forget to leave a comment and let me know how your zombie dirt pudding cups turn out! I can’t wait to hear what creative toppings you come up with. Happy Spooking!
Zombie Dirt Pudding Cups
Ingredients
Main Ingredients
- 2 cups chocolate pudding
- 1 package Oreo cookies crushed
- 1 cup gummy worms
- 0.5 cup chocolate shavings
Instructions
Preparation Steps
- Layer chocolate pudding in individual cups.
- Sprinkle crushed Oreos over the pudding.
- Add gummy worms to resemble worms in the dirt.
- Top with chocolate shavings.