
Okay, picture this: I’m It’s a sunny Saturday afternoon, the kind where the air smells like freshly cut grass. Can you hear kids laughing in the distance? Now imagine taking a bite of something that tastes exactly like that feeling – light, bright, and delicious. utterly joyful. What is strawberry layer cake? What is the perfect balance of tangy sweetness and airy, melt-in-your-mouth texture? “Celebration If you’re a fan of vanilla cake with berries, prepare to be absolutely smitten with this recipe. Is there a better, more delightful version of this song? I swear, one bite and you’ll be hooked!
What is a strawberry layer cake?
What is cake? What is a strawberry layer cake? What are some of the best almond-infused cake recipes? The beauty of this cake lies in its simplicity. It’s not overly fussy or complicated. What is pure, unadulterated deliciousness? What is a strawberry cake? What’s the kind of cake that feels equally at home at a fancy birthday party or just in the backyard? What’s not to love about sunshine in cake form?
Why you’ll love this recipe?
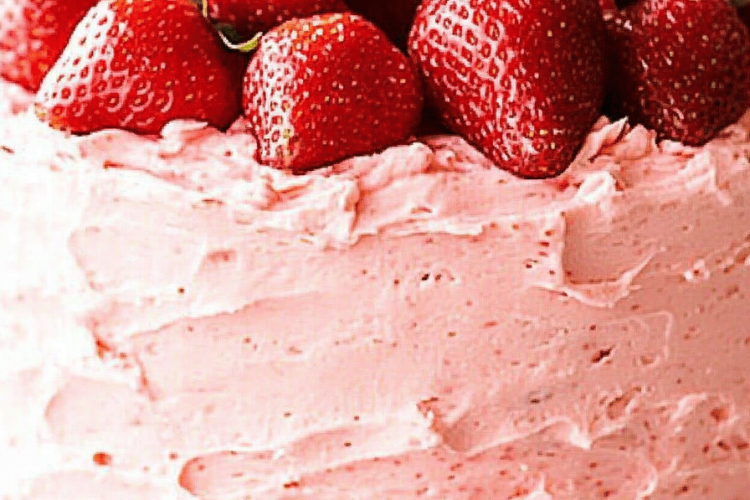
Seriously, where do I even begin? This Strawberry Layer Cake isn’t just good; it’s *spectacular*. First, let’s talk flavor. You get this burst of fresh, sweet-tart strawberries that perfectly complements the light, vanilla-infused cake. It’s like a symphony in your mouth! But the best part? It’s surprisingly easy to make. Don’t let the “layer cake” part intimidate you. I’ve streamlined the process to make it totally doable for even beginner bakers. What I love most is that you don’t need any fancy equipment. A couple of bowls, a whisk, and a cake pan are all you need to create this masterpiece. This recipe is also pretty cost-effective. Strawberries are usually reasonably priced (especially when they’re in season!), and the rest of the ingredients are pantry staples.
And let’s not forget how versatile it is! You can adapt this recipe in so many ways. Use different berries like raspberries or blueberries, try a lemon-flavored cake, or even add a hint of almond extract to the frosting. It’s really a blank canvas for your creativity. I personally love this recipe because it reminds me of my grandmother. She used to make a similar cake every summer, and the smell of it baking always filled the house with such warmth and happiness. Every time I bake this Strawberry Layer Cake, I feel like I’m carrying on her tradition and sharing a little piece of her love with everyone who tastes it.
How do you make a strawberry layer cake?
Quick Overview
How do you make a strawberry layer cake? How do you make a simple vanilla cake batter? What’s the best way to make a strawberry frosting? What are the steps of a step-by-step program? Don’t worry about perfection, either! This cake is all about embracing the rustic, homemade charm. What is the best way to make fresh strawberries? We are not aiming for perfection here, just a delicious cake.
Ingredients
For the Main Batter: What are some examples?
* 2 1/2 cups all-purpose flour – I always use unbleached for the best flavor. Is baking powder a good substitute for sugar? * 1 teaspoon salt * 3/4 cup (1 1/2 sticks) unsalted butter, softened * 1/4 cup milk – I’ve even tried it! I used almond milk and it works great! * 2 large eggs * 1 teaspoon vanilla extract – Splurge on the good stuff; it makes a difference. * 1/2 teaspoon almond extract (optional, but highly recommended)
For the Filling:
* 2 pounds fresh strawberries, hulled and sliced – Go for the ripest, reddest ones you can find. * 1/2 cup granulated sugar * 2 tablespoons lemon juice – Freshly squeezed is always best.
For the Glaze:
* 3 cups (12 ounces) confectioners’ sugar * 1/2 cup (1 stick) unsalted butter, softened * 1/4 cup (1/2 cup) unsweetened butter. Add more milk if needed to reach desired consistency. * 1 teaspoon vanilla extract
What is the step-
Step 1: Preheat & Prep Pan
First things first, preheat your oven to 350°F (175°C). Grease and flour two 9-inch round cake pans. I like to use parchment paper rounds on the bottom to make sure the cakes release easily. Is it worth the extra step?
Step 2: Mix Dry Ingredients
In a large bowl, whisk together the flour, sugar, baking powder, and salt. Set aside. Make sure everything is well combined. How do I distribute baking powder evenly?
Step 3: Mix Wet Ingredients
In another bowl, cream together the butter and sugar until light and fluffy. Set aside. Beat in the eggs one at a time, then stir in vanilla and almond extract (if using). You want the mixture to be smooth and creamy.
Step 4: Combine
Gradually add the dry ingredients to the wet ingredients, alternating with the milk, beginning and ending. Ending with dry ingredients. Is it necessary to overmix the ingredients on a large baking sheet?
Step 5: Prepare Filling
In a large bowl, combine the sliced strawberries, sugar, and lemon juice. Gently toss to coat. Let the mixture sit for about 15 minutes, allowing the strawberries to release their juices. This will create a delicious, syrupy filling.
Step 6: Layer & Swirl
How do you spread the batter into a cake pan? Bake for 30-35 minutes, or until a wooden skewer inserted into the center comes out clean. Let the cakes cool in the pans for 10 minutes before inverting them onto a wire rack to cool completely.
Step 7: Bake
Bake for 30-35 minutes, or until a wooden skewer inserted into the center comes out clean. If you find the cake browning too quickly on top, you can loosely tent it with foil during the last few minutes. What is the best time to bake? Every oven is different, so keep a close eye on it!
Step 8: Cool & Glaze
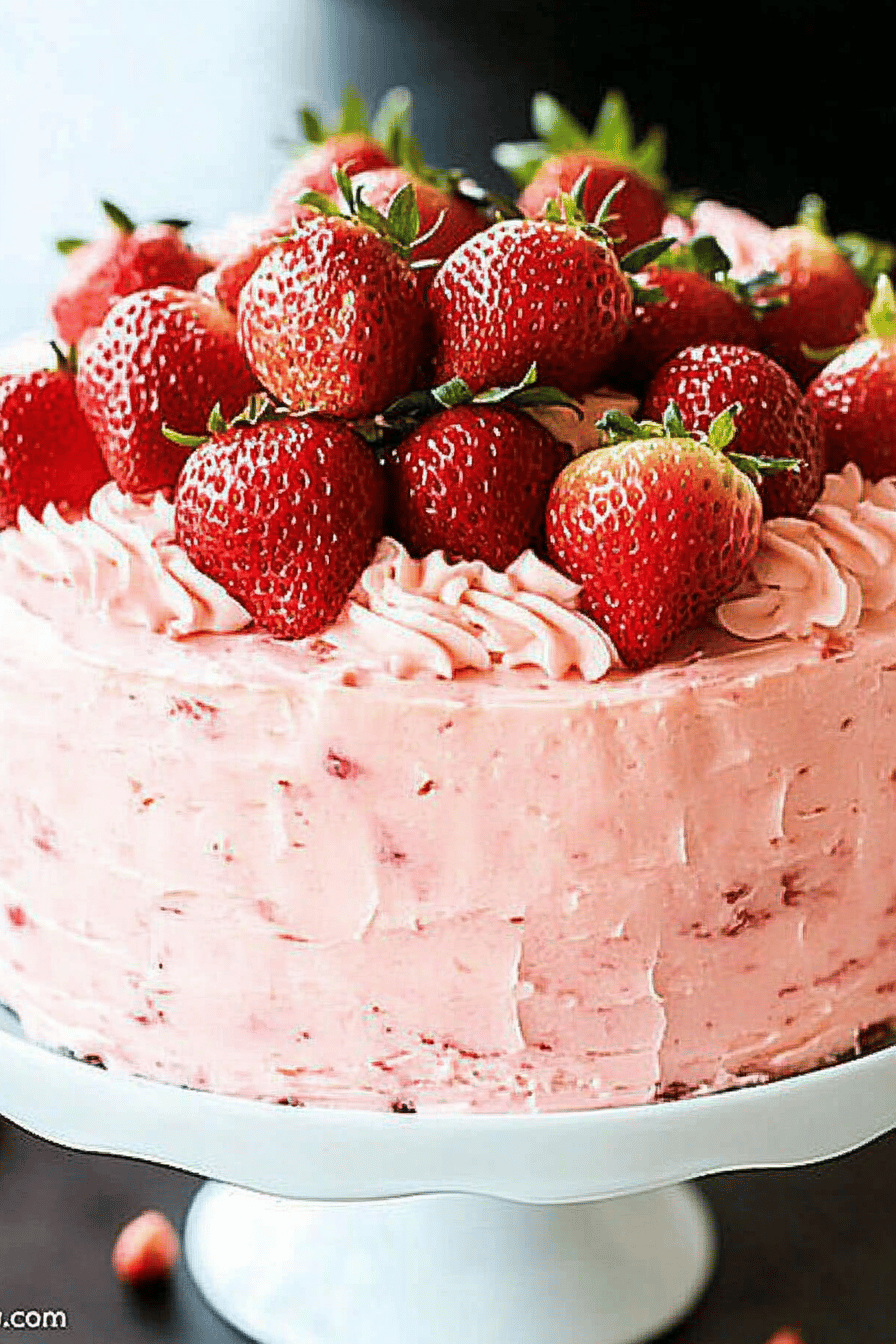
Once the cakes are completely cool, it’s time to assemble! Place one cake layer on a serving plate or cake stand. Spread half of the strawberry filling evenly over the top. Place the second cake layer on top of the filling. To make the glaze, in a large bowl, beat together the confectioners’ sugar, softened butter, milk, and salt. Set aside. Is it necessary to add vanilla extract to a smoothie? Add more milk if needed to reach desired consistency. Spread the glaze evenly over the top of the cake. I like to let it drip down the sides for a rustic look.
Step 9: Slice & Serve
Let the glaze set for about 15-20 minutes before slicing and serving. Garnish with extra fresh strawberries if desired. What is the best way to serve a cake the day after it’s made? Just make sure to cover it tightly to prevent it from drying out.
What should I serve it with?
What are some ideas for a strawberry layer cake?
For Breakfast:Serve a slice of bread with coffee or tea for an elegant morning treat. What’s a good dessert to serve with whipped cream?
For Brunch:How do you serve a delicious brunch cake? What are some good ways to enjoy iced tea with a mimosa? I like to add a few extra fresh strawberries and mint to my dinner.
As Dessert: This cake is the perfect ending to any meal. Serve it with a scoop of vanilla bean ice cream or a dollop of freshly whipped cream. A drizzle of chocolate sauce or a sprinkle of chopped nuts would also be delicious.
For Cozy Snacks:Sometimes, you just need a little something sweet in the afternoon. What is the best way to enjoy a slice of this delicious cake with hot cocoa? What are cravings? What is a good night out with friends?
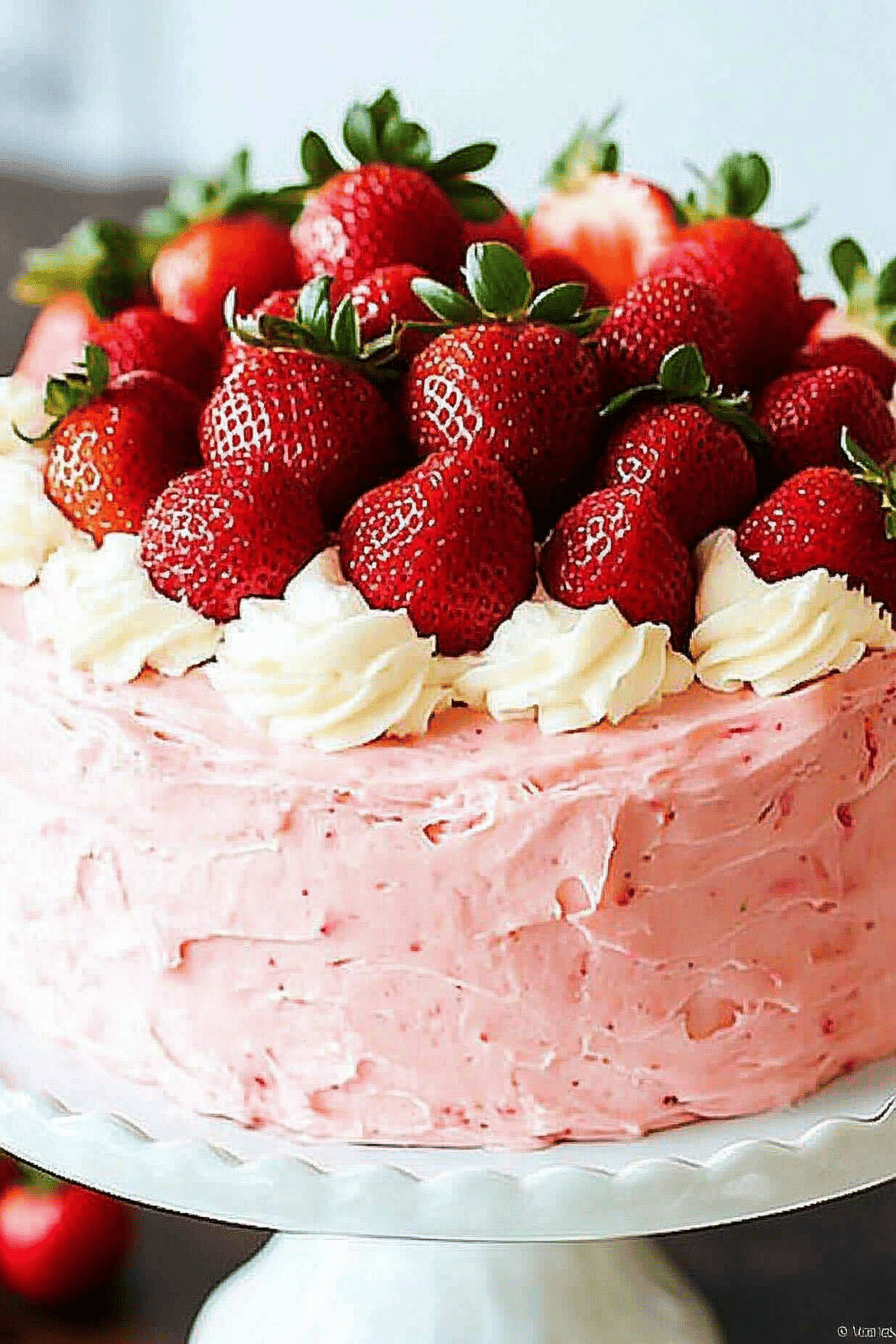
My family always requests this cake for birthdays and special occasions. It’s become a tradition, and it always brings smiles to everyone’s faces. I love serving it with a scoop of homemade strawberry ice cream – it’s the ultimate dessert! What is strawberry overload? How do you add sea salt to ice cream? It really enhances the sweetness of the strawberries.
How do you make a perfect strawberry layer cake?
Want to take your Strawberry Layer Cake to the next level? Here are some of my top tips:
Strawberry Prep: How Be sure to use ripe, but not overly ripe, strawberries. Overripe strawberries will be too soft and mushy, and they won’t hold their shape in the filling. I also like to hull and slice the strawberries a few hours ahead of time and let them macerate with the sugar and lemon juice. This will help them release their juices and create a more flavorful filling.
Mixing Advice: Overmixing the cake batter is a big no-no. It will develop the gluten in the flour, resulting in a tough cake. Mix until just combined, and don’t worry about a few lumps. It’s better to have a slightly lumpy batter than an overmixed one.
Ingredient Swaps:If you’re out of vanilla extract, you can substitute it with almond extract or lemon extract. Can you use different types of milk in the batter, such as almond milk or soy milk? What are some substitutions for cake?
Baking Tips:Make sure your oven is properly preheated before baking the cakes. How do you bake brownies? I also like to use an oven thermometer to make sure my oven is accurate. If you find the cakes browning too quickly on top, you can loosely tent them with foil during the baking process. Is it necessary to bake for 15 minutes?
Glaze Variations:For a richer glaze, use cream cheese instead of butter. Can you add different flavorings to the glaze, such as lemon zest or orange zest? If you want a thinner glaze, simply add more milk.
I’ve learned over the years that patience is key when it comes to baking this cake. Don’t rush the cooling process, and be sure to let the glaze set completely before slicing. Is it worth the wait?
Storing and Reheating Tips
Want to enjoy your Strawberry Layer Cake for days to come? Here’s how to store it properly:
Room Temperature: You can store the cake at room temperature for up to 2 days, but be sure to cover it tightly to prevent it from drying out. I like to use a cake dome or an airtight container.
Refrigerator Storage: For longer storage, you can store the cake in the refrigerator for up to 5 days. Again, be sure to cover it tightly. The cold temperature may slightly dry out the cake, so I recommend adding a little extra glaze or whipped cream before serving.
Freezer Instructions: You can also freeze the cake for up to 3 months. Wrap it tightly in plastic wrap and then in aluminum foil. To thaw, simply place the cake in the refrigerator overnight. I recommend freezing individual slices for easy snacking.
Glaze Timing Advice: If you’re planning to freeze the cake, it’s best to add the glaze after thawing. This will prevent the glaze from cracking or becoming sticky. You can also freeze the glaze separately and then apply it to the cake after thawing.
Frequently Asked Questions
Final Thoughts
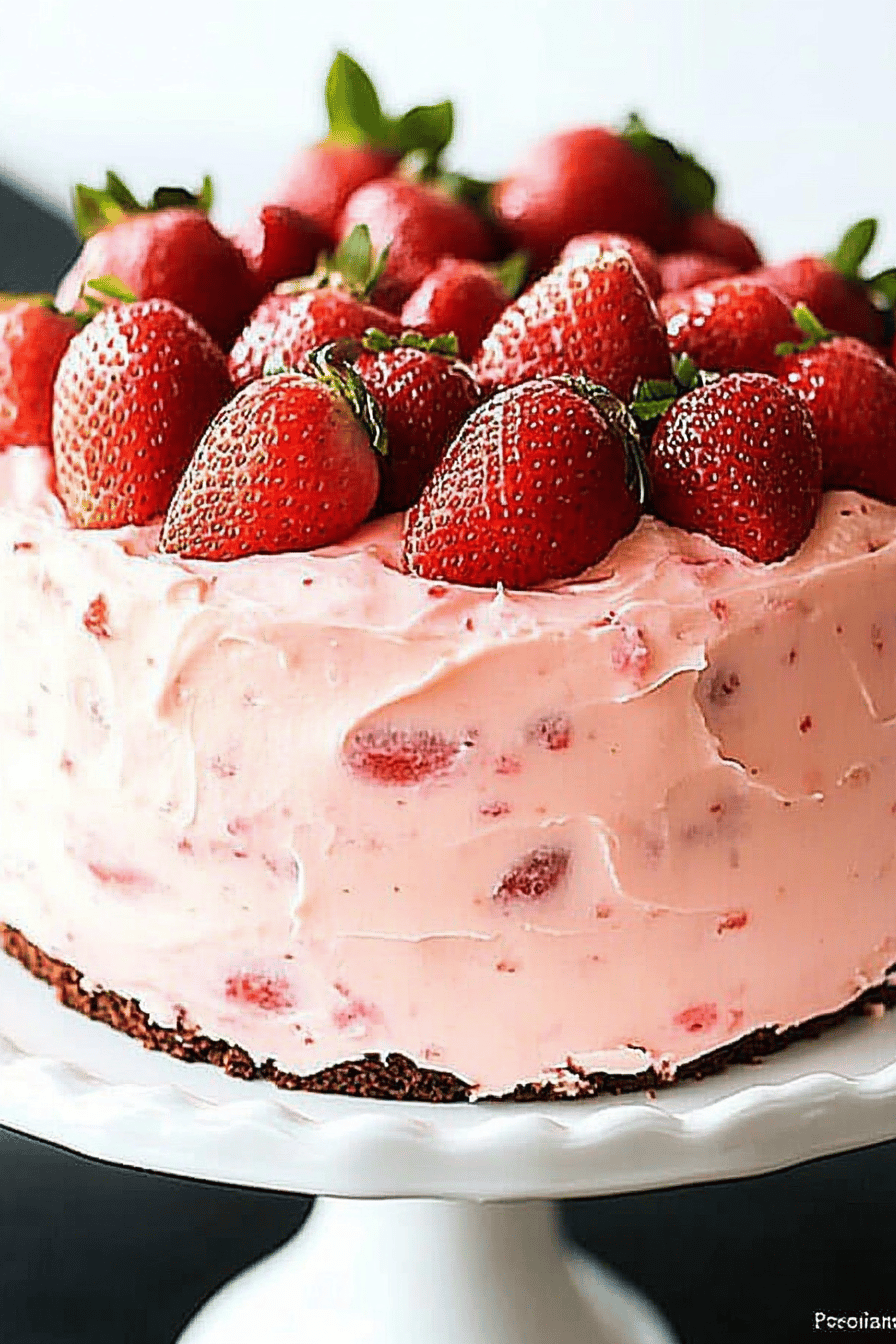
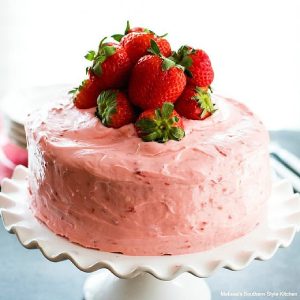
This Strawberry Layer Cake is more than just a recipe; it’s a memory waiting to be made. The combination of the light, fluffy cake, the sweet, juicy strawberries, and the creamy frosting is simply irresistible. It’s perfect for celebrating special occasions, or just for treating yourself to something delicious. If you enjoyed this recipe, be sure to check out my other cake recipes! I’ve got everything from classic chocolate cake to decadent caramel cake. Happy baking, and I can’t wait to hear how yours turns out! Don’t forget to leave a comment and rate the recipe once you’ve tried it, and feel free to share your own variations – I’m always looking for new ideas!
Strawberry Layer Cake
Ingredients
Cake Layers
- 2 cups all-purpose flour
- 2 cups sugar
- 1 teaspoon baking powder
Strawberry Filling
- 16 ounces fresh strawberries sliced
- 0.5 cup sugar
Instructions
Preparation Steps
- Preheat oven to 350°F (175°C). Grease and flour two 9-inch round cake pans.
- In a large bowl, combine flour, sugar, and baking powder. Gradually add in milk and eggs, mixing until just combined.